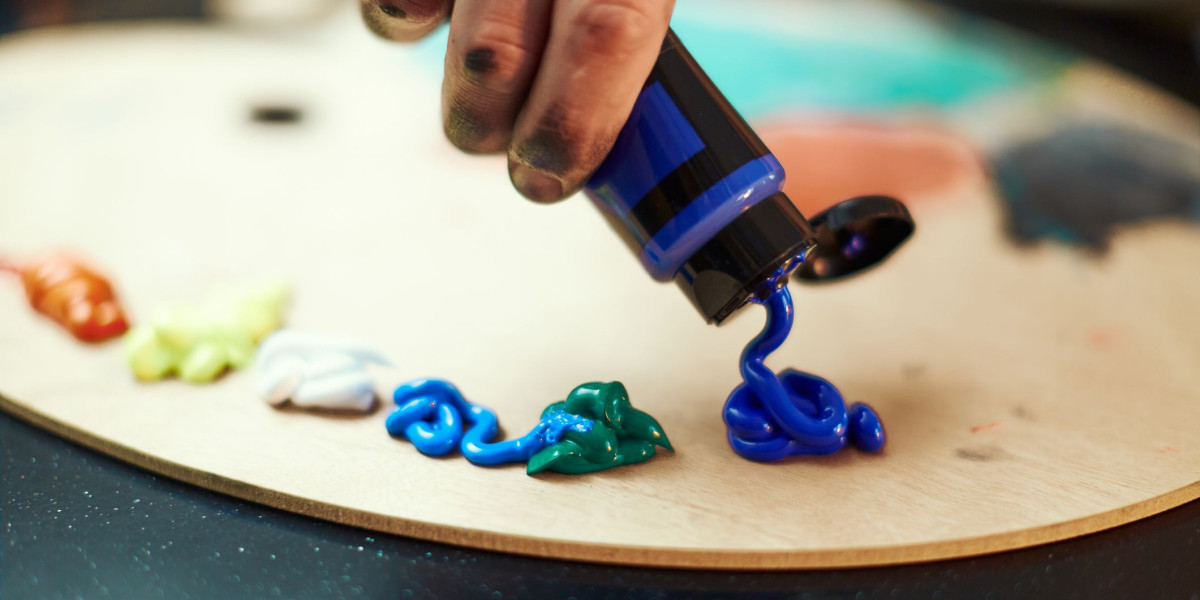
Creating stunning textures with acrylic paint can elevate your artwork to new heights, adding depth and interest to your pieces. Acrylic paint, one of the most versatile Art Paints available, allows artists to experiment with various techniques to achieve incredible textures. In this guide, we'll explore different methods and tips to help you master the art of creating textures with acrylic paint.
Why Use Acrylic Paint for Textures?
Considerations for selecting the best acrylic paint for your artwork include pigment quality, viscosity, drying time, color range, and lightfastness. You may choose the best acrylic paints to complement your artistic creations by being aware of your requirements and preferences. Keep in mind that the appropriate supplies can significantly impact your artwork, so take your time choosing and spending money on premium acrylic paints that will enable you to realize your artistic ambitions.
Advantages of Acrylic Paint
- Quick Drying: Allows for rapid layering without long waiting periods.
- Versatility: Can be applied thickly or thinly, mixed with various mediums, and used on multiple surfaces.
- Durability: Once dry, acrylic paint becomes water-resistant and flexible.
Essential Supplies for Creating Textures with Art Paints
Before diving into texture techniques, ensure you have the necessary supplies. Here's a list of materials you'll need:
- Acrylic Paint: Choose high-quality acrylic paints in your preferred colors.
- Brushes: Various sizes and shapes, including bristle and synthetic brushes.
- Palette Knives: For spreading and scraping paint.
- Texture Mediums: Such as modeling paste, gel medium, and texture gels.
- Surfaces: Canvas, wood panels, or heavy paper.
- Miscellaneous Tools: Sponges, combs, stencils, and household items like plastic wrap or bubble wrap.
Techniques for Creating Textures with Acrylic Paint
1. Impasto Technique
The impasto technique involves applying thick layers of acrylic paint to create a textured, three-dimensional effect. Here's how to achieve it:
- Step 1: Load your palette knife or brush with a generous amount of acrylic paint.
- Step 2: Apply the paint to your canvas in bold strokes or dabs, leaving visible peaks and ridges.
- Step 3: Experiment with different tools and techniques, such as swirling the paint or layering multiple colors for added depth.
2. Using Texture Mediums
Texture mediums can be mixed with acrylic paint to create various effects. Common mediums include modeling paste, gel medium, and texture gels.
- Modeling Paste: Mix with acrylic paint to create a thick, sculptable paste that holds peaks and ridges.
- Gel Medium: Available in different consistencies (soft, regular, heavy), it can be used to thicken paint or create glossy, translucent textures.
- Texture Gels: Additives like sand, beads, or fibers that can be mixed with paint to create unique textures.
3. Sgraffito Technique
Sgraffito involves scratching or scraping through a layer of wet paint to reveal the surface underneath or a different color below.
- Step 1: Apply a layer of acrylic paint to your surface and let it dry.
- Step 2: Apply a second layer of paint in a contrasting color while the first layer is still wet.
- Step 3: Use a sharp tool, such as a palette knife or the end of a brush, to scrape through the wet paint, creating patterns and revealing the dry layer beneath.
4. Collage and Mixed Media
Incorporating other materials into your acrylic paintings can add interesting textures and visual elements.
- Step 1: Gather materials such as fabric, paper, or found objects.
- Step 2: Use gel medium or matte medium to adhere these materials to your canvas.
- Step 3: Paint over or around the materials, integrating them into your composition.
5. Stenciling and Masking
Stencils and masking techniques can create sharp, textured patterns.
- Step 1: Place a stencil on your canvas.
- Step 2: Use a sponge or palette knife to apply acrylic paint over the stencil.
- Step 3: Remove the stencil to reveal a raised, textured pattern.
Tips for Achieving Stunning Textures
Experiment with Tools and Techniques
Don’t be afraid to experiment with various tools and techniques to discover what works best for you. Brushes, palette knives, sponges, and even household items like combs and forks can create unique textures.
Layering
Building up layers of acrylic paint can add depth and complexity to your textures. Allow each layer to dry before adding the next to prevent muddiness and maintain clarity.
Color Mixing
Mixing different colors and shades within your textured areas can add dimension and interest. Experiment with both complementary and contrasting colors to see what effects you can achieve.
Dry Brushing
Dry brushing involves using a dry brush with a small amount of paint to lightly skim the surface of your painting, creating a rough, textured effect.
- Step 1: Load a dry brush with a small amount of paint.
- Step 2: Gently brush over the surface, allowing the texture underneath to show through.
Glazing
Glazing involves applying thin, transparent layers of paint over a textured surface to add depth and richness.
- Step 1: Mix acrylic paint with a glazing medium.
- Step 2: Apply thin, transparent layers over your textured areas, allowing each layer to dry before adding the next.
Final Thoughts
Acrylic paint may be used to create amazing textures that will change your artwork and give it a more dynamic, engaging feel. You may find countless ways to give your paintings depth and intrigue by experimenting with various methods, supplies, and paints. Recall that experimenting and practice are the keys to becoming an expert texture painter using acrylic paint. So gather your materials, unleash your imagination, and relish the process of producing stunning, textured artwork.


