Drawing For Kids Roses are a gorgeous flower that seems fairly simple to sketch, thus Drawing For Kids' simple rose sketching instruction is a fantastic choice for both young and inexperienced painters.
Draw dozens of roses in a reasonable amount of time if you stick to a few basic shapes and strokes. As with any of our previous drawing courses, you will receive a directed drawing template that you can print off and use to practice drawing wherever you are. You can also use any of our current drawing instructions for this.
How to Draw a Rose for Kids Easily
Not only are roses among the most fragrant flowers, but they are also among the most exquisitely beautiful. With the help of this tutorial, anyone, regardless of drawing skill level, may create a drawing that beautifully captures the spirit and beauty of a flower. With the help of this simple instruction, anyone can produce a beautiful drawing that perfectly captures the essence of the flower.
Since we wanted every step to be as clear-cut and intelligible as possible, the sketching guide for the rose has a few more steps than most of our other recommendations. Although drawing roses can seem difficult, we can assure you that drawing this specific rose is not at all difficult. Many people who attempted this recipe for the first time were astounded and delighted with how wonderful their roses turned out, so we are very happy that it worked out.
Drawing Techniques for Roses: Paper and a printing device are required for this.
The drawing tool that you most often use, whether it is a pencil or a pen.
If you want to add some color to your artwork, you should bring coloring supplies.
Step 1:
Drawing an oval form is the first step in drawing a rose. It is not at all required to possess this quality because nothing in nature is flawless. Whatever method you decide to use to represent a rose, the result will be exquisite.
Step 2:
Draw a tight spiral to adorn the oval's interior. The general significance of the pattern is unaffected by the spiral's route or the number of revolutions it completes.
Step 3:
Draw a heart that completely encircles the spiral, beginning at the top where the oval form and the heart cleft meet. Once more, the left and right halves of the heart do not have to have the same shape.
It's not necessary for other cardiac zones to come into direct touch with the oval shape, but even if they do, there's no reason to worry.
Step 4:
Starting from the top, create a gorgeous flowing form that resembles a very loose letter S. Next, draw a line that follows the contour of the heart. Make a pointed V with your fingers and let it to permeate every aspect of your life, including your innermost self.
Step 5:
Draw a picture that resembles the first one, except the pointed tip, on the other side of the heart. Draw the line that connects it to the first shape you made after that.
Step 6:
At this point, sketch the letter U. You can now bend the top if you'd like. On your rose, do you see what look like flower buds?
Step 7:
Give a few more specifics regarding your answer. Draw a curved line from the point of the V to the base of the flower to complete it.
Additionally, draw two lines that join the oval and heart forms. This step is only required if the oval and sides of your "heart shape" don't meet.
Step 8:
Drawing a few sepals beneath the blossom may be useful.
Step 9:
Draw a diagram that displays a leaf and the root.
Step 10:
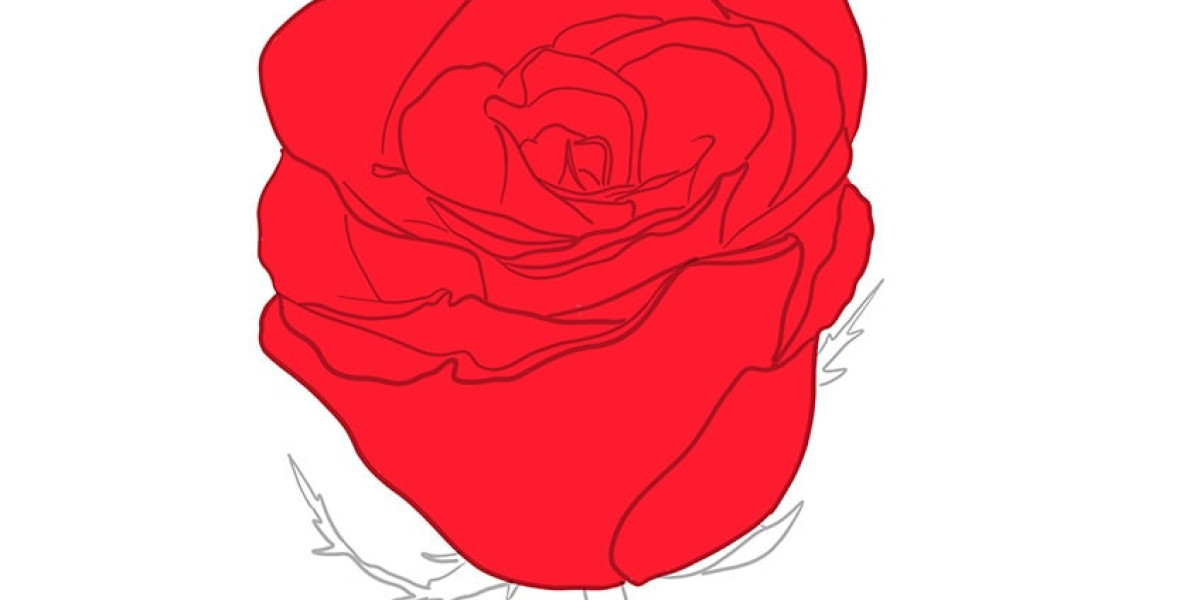
Fill in the missing details to finish the rose drawing.
In summary:
If you limit your drawing to a few basic shapes and strokes, you can create dozens of roses in a respectable amount of time. You will be able to make roses with this. You will receive a guided drawing template that you can print off and use to practice drawing wherever you are. This method is similar to how you would have been able to practice drawing anywhere. This will allow you to practice drawing wherever you are at any time. In addition, you are welcome to use any of the previously made drawing instructions that we have made available to you for this usage. For your convenience, we have the kid's drawing ready here.